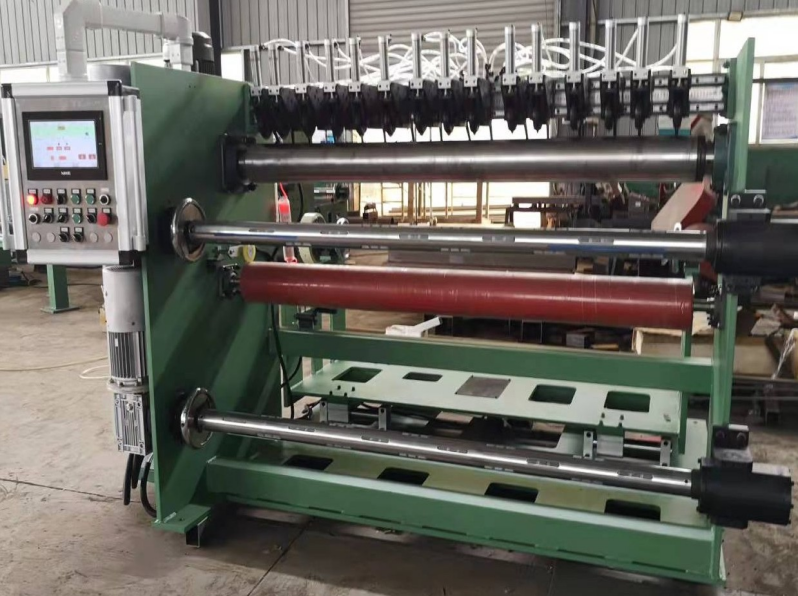
I bought a belt sander and don’t know how to install it. This is a problem that novices often encounter. Today I will introduce the installation steps.
1. Pull out the handle of the belt sander safely, install the sanding belt on the front and rear wheels, and then return the handle to its original position.
Note: When installing the abrasive belt, make sure that the direction of the arrow on the back of the abrasive belt matches that on the tool.
2. Adjust the trajectory of the sanding belt.
Turn on the power switch of the tool: while the sanding belt is running, use the adjustment handle to align the sanding belt trajectory with the center. Failure to do so will result in the edges of the abrasive belt being scratched.
3. Install dust bag (as needed)

4. Switch operation.
To start this tool, just pull the trigger. As soon as the trigger is released, the tool stops rotating. To continue rotating, pull the trigger and press the lock button. Pulling the trigger again, then releasing it, eliminates the continuous rotation.
Note: Before plugging in the power, you must check whether the switch operation of the tool is smooth, pull the trigger and then release it, and whether the trigger switch of the belt sander can spring back to its original position.


